
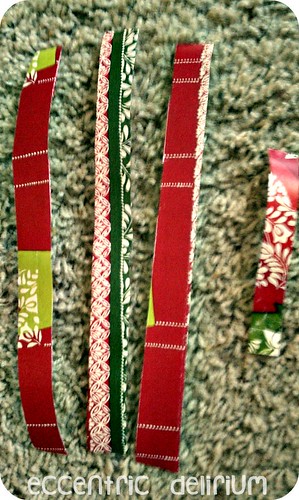
1. You will need 4 strips of wrapping paper (I forgot to photograph one. Do as I type, not as I photograph. Hehe.) that are 8" x .75" and then 1 strip of wrapping paper that is 4" x .75". The strips do not have to be cut perfectly straight, I would just make sure that there are no jagged edges.
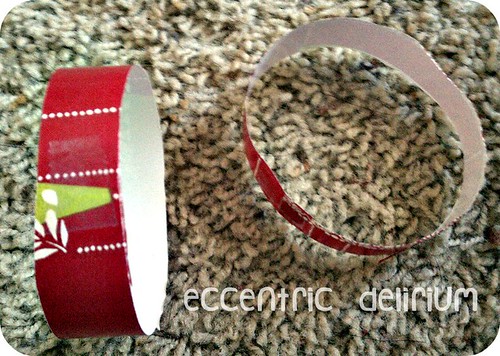
2. Now you will need to take all of your strips (even the short one) and create loops and secure with a piece of clear tape. You can either do these with the decoration facing out or in, it doesn't matter. Depends on the color bow you would like!
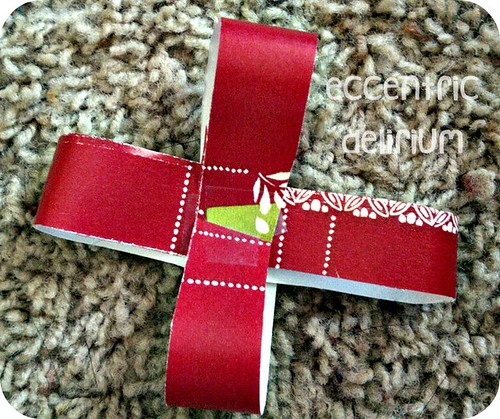
3. Now, take two of your longer loops and put one inside the other, so they're making a cross shape. I used scotch tape to connect them, but its much easier to use a stapler. But you'll need to flatten your loops and somehow adhere them to each other. Then, do this to your other two larger loops. Now, you'll have two cross shapes.

4. Now, you'll place your two cross shapes on top of each other to make a star shape, and then you put your small loop on the very top (whichever direction you think looks best). If you're using a stapler, slide the top of your stapler inside the small loop and staple through all the layers, that way you're hiding the staple and the small loop is still round. Since I used tape, I just flattened the small loop as well.
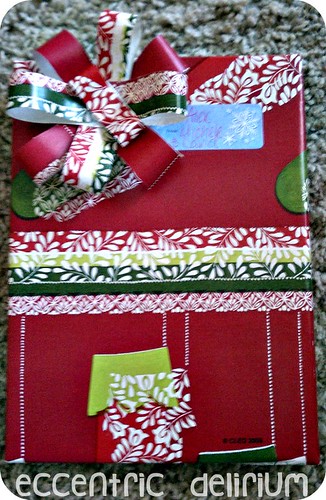
5. Use a piece of tape to attach your bow to your gift!
No comments:
Post a Comment